Showing posts with label Milk. Show all posts

Saturday, April 18, 2015

Zafrani badaam pista kulfi

After I got married and shifted to Delhi, faithfuly visiting Nirula's 21 in Connaught Place was one of our favorite spots. It always had 21 flavors of ice creams on its shelf. The Zafrani badaam pista used to be loaded with lots of pistachios and left a very lip smacking flavor in your mouth.

Since the time, I started making kulfi at home, this apart from other flavors is a favorite in our home.


Ingredients:
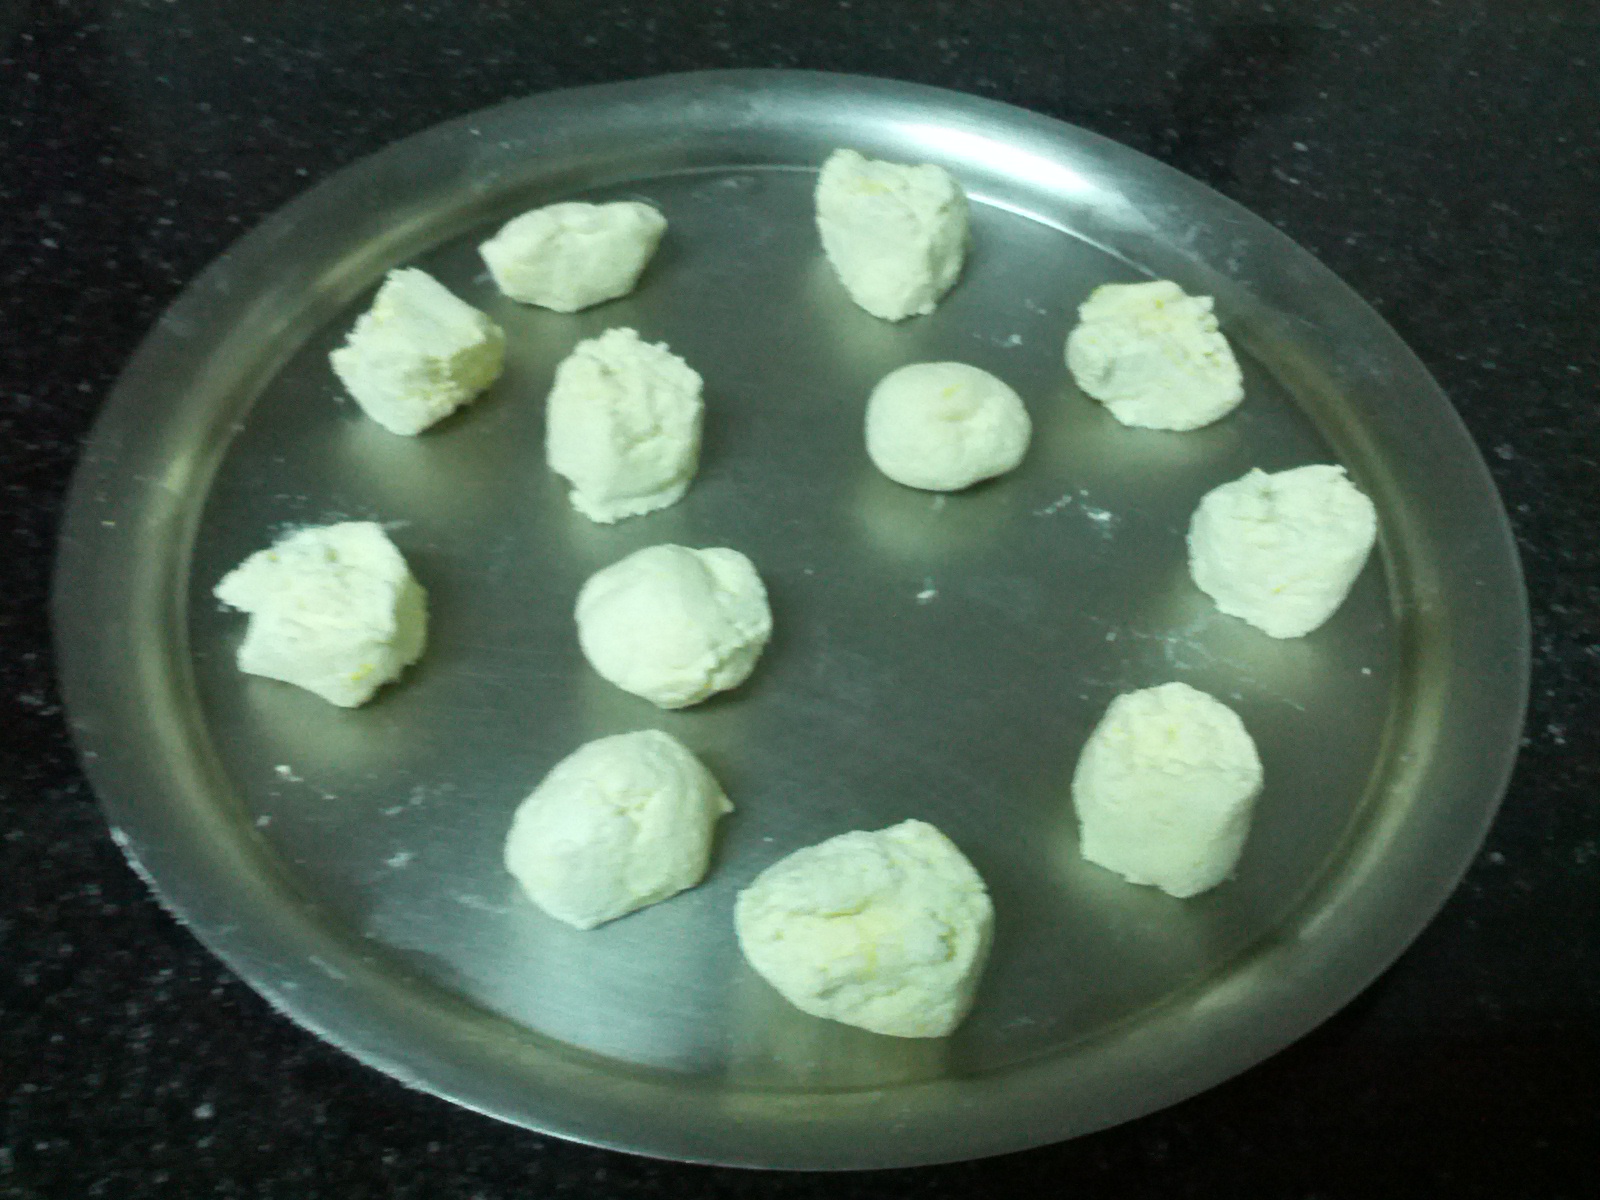
one measure basic kulfi mixture, Pista elaichi kulfi

To be added to mixture:
20 almonds, blanched and slivered
2 tbsp pistachios, roughly chopped
a good pinch of zafran / saffron

Method:
To the basic mixture, while still hot, add saffron strands. They will release their color and flavor in the warmth of milk.
Add slivered almonds and pistachios to the mixture.


Transfer the mixture to kulfi moulds or the container of your choice. I decided to freeze kulfi in an earthern pot this time.
Before you use the earthern pot, soak it in water for at least one hour. This way the milk is not absorbed by the porous material.


Cover with an aluminium foil properly and put it in the freezer.


The kulfi will be very hard so to make it a little soft, you need to let it sit outside for sometime.


 The kulfi is now ready to be served....


 Enjoy spoonfuls of soft and creamy kulfi :)


Sunday, November 2, 2014

Eggless garlic Naan

What could be more satisfying than freshly made garlic naan that melts in your mouth. Naans are usually made a special oven called tandoor which is a dome shaped clay oven.  The temperature reaches very high and the purpose is to cook the breads or meat very fast thus preserving the softness inside.  Once the naan is rolled, one side is made wet and then quickly patted on the inner wall of tandoor.  The heat quickly cooks the naan which is taken out with the help of skewers.  Dollop of flavored butter makes for a heavenly naan.

In the absence of tandoor, kitchen ovens are used.  My mother used to make them on a skillet or tawa and that is what I plan to make today.
Ingredients:
3 cups maida / all purpose flour
1/2 tsp instant rapid rise yeast
1 tsp sugar
1/4 cup yogurt
1/4 cup warm milk
approx. 1 cup warm water
4 tbsp butter/ ghee/ oil
1 tsp salt

optional:
poppy seeds
sesame seeds
nigella seeds

To be applied to naan after cooking:
2 tbsp butter
1 clove garlic
1 tbsp coriander leaves, chopped

Method:
Mix butter, garlic, coriander leaves in a bowl and keep it aside.
Sift flour, add instant rise yeast, sugar, salt and mix.
Add yogurt and warm milk to the flour and knead thoroughly.  Now, get ready for some arm exercise.  Knead the dough till soft.
Add butter and start kneading again.......
till it becomes a soft and leaves the side of bowl.
Cover with a cling film and let it rest.  The resting time will depend solely on the room temperature.  If it is cold, keep the dough in an oven.
The dough should double in volume.
Knead it again and divide it equally in small roundels.
Flatten and if desired, sprinkle few nigella seeds, poppy seeds or sesame seeds.  Roll and make tear shaped naans.
Heat an iron tawa or pan.  Do not use a non-stick one.  Naans slip away from a non-stick one. When the skillet or tawa is hot, apply a little water on underside of each naan and stick the wet side of the naan on the tawa.
Cover and let it cook a little.  Covering the naan also makes it more spongy.
Remove the cover, and turn the skillet up-side down along with the naan still stuck.  You need to keep it at a little distance so that the flame browns the naan evenly and does not burn it.
Check for even brown specks.
Remove the naan and spread a lavish dollop of the flavored garlic butter.
I tried another version of making naans in an oven which was more faster but the end result was not that soft as the skillet ones.

My Notes:
Do not let the dough rest too much, it will become sour.

Thursday, October 16, 2014

Nolen gur sandesh

A trip to Delhi is never complete without having gur sandesh from Annapoorna. I am sure the ones in Kolkata must be too good but I have never had the opportunity to taste those.
I love the brown gur sandesh and tried many a times to make them but would always fail in my attempts.
Either, I would over cook paneer or under cook the paneer. Gradually after few trials, I was able to place the exact time I need to remove paneer from heat.

Palm sugar is added to make this sandesh.  The jaggery not only gives it a brown color but also imparts a very different taste.
Ingredients:
full fat paneer from 1 liter milk
3 tbsp palm jaggery or according to taste

For garnishing:
few raisins
cardamom powder
crushed pistachios
palm jaggery

Method:
Put the milk to boil .
Mix water and vinegar and keep it ready.
As soon as the milk starts to boil, turn off the heat, give milk a swirl and add the water-vinegar solution.
Wait for a second, stir it lightly.
You will now see the milk solids separating and a greenish clear water.

Strain the milk solids (paneer) using a fine cloth.
Press to remove water, do not make it too dry.
Break paneer into small pieces and start kneading....
Apply a little pressure and slide your palm in front, taking and mashing paneer along.
You can also use a blender to mash paneer. The paneer would become a soft dough.
Now, it is the time to sweeten paneer.
date palm jaggery
Khejur gur or date palm jaggery is used as a sweetner in this variety of sandesh.  I like less sweet so I have added 3 tbsp of sweetner.
Mix and make it into a homogenous mass. You can increase or decrease the amount of sugar.
Put a pan, preferably a non-stick one on low flame. Put sweetened paneer and start stirring.
The paneer will lose some water and start becoming runny.
Continue stirring, do not increase the heat or the paneer would become crumbly in no time.

Soon, it will start leaving the sides of the pan. Test by taking a little dough out and rolling it, if it does not stick to the surface, it is done. If, it feels grainy, mash again to make a soft dough.
My sandesh molds which Anna Majumdar got for me from Kolkata. Thanks Anna.
My garnishes are all ready.
Put a little garnish on the mold, cover with dough , press lightly and remove.
tried filling with jaggery.....
all ready to be served...
Enjoy the soft melt in the mouth sandesh.


My Notes:
Do not remove all water from paneer, it should be soft and not crumbly.
Stir sugar and paneer continuously over low heat.
If, you do not have palm sugar, use plain white sugar.


Monday, October 13, 2014

Rajbhog

A bite into a soft and juicy rajbhog is irrestible. Rajbhogs are rasgullas which are slightly bigger and with a stuffing of saffron and nuts inside. This further enhances its taste.

Having originated in Bengal, it is now available everywhere and has attained the status of one of the important Indian sweets. The markets are now flooded with canned rajbhogs but there is a huge satisfaction in seeing paneer roundels puff in front of your eyes. My husband's face lights up on seeing them!

With Diwali next week, surprise everyone with home made rajbhogs. So, go ahead and try...
A VERY HAPPY DIWALI TO ALL MY FRIENDS AND READERS
Ingredients:
1 liter whole milk, made into paneer, see post Making paneer
yellow color, if desired

sugar syrup:
2 cups sugar
4 cups water

for filling:
a little amount of paneer
1/2 tsp cardamom powder
3-4 chopped almonds
5-6 pistachios, crushed roughly
1/8 tsp nutmeg
a pinch of mace
few strands of saffron
12 sugar candy or elaichi dana

Method:
I am skipping the method of making paneer in this post. So, after the milk has been separated, transfer to a cheese cloth to remove excess water.
Rinse the paneer so that no traces of vinegar or souring agent remain.
Squeeze and remove extra water.
Squeeze to remove water
Transfer to a plate...
Mash to crumble it....
Now, you need to make it into a soft homogenous dough.
Knead the dough with the heels of your palms, keep on kneading and kneading, phewww :(
Or, put it in a blender and grrrrhhh.......
the dough is soft and smooth...
Meanwhile, in a pressure cooker, put the sugar syrup to boil. Add one or two cardamoms if desired.
Divide the dough into portions, I was able to make 12 paneer balls. Add yellow color if you want to.  I refrain from adding artificial colors, so add a little bit of turmeric powder. No, don't be alarmed, you will not get the taste of turmeric !
The amount of paneer depends on the quality of milk.
To a small amount of paneer, add the ingredients listed under filling.
Divide into 12 portions...
Take one paneer roundel, make a dent and put the filling inside along with a sugar candy.
Roll and make smooth round balls.
The syrup would by now be boiling....
Drop few paneer balls in the boiling sugar syrup.
Add enough paneer balls and cover with lid along with the pressure guage.
As soon as the pressure cooker starts hissing, lower the heat to minimum.
Simmer for 5 minutes. Switch off the heat and let the pressure drop by itself.
Open the lid and yell with surprise......
Transfer to a serving dish. Chill and serve.


Enjoy :)

My notes:
Remember, that the paneer balls puff up while cooking so, do no't overcrowd them or else they would stick to each other.
I do not add any binding agent to paneer, but this is optional.
In case you want to add the binding agent to the paneer dough, add 1/2 tsp of sooji/semolina and 1/2 tsp of all purpose flour.
These can be made in a saucepan also, but for this, remember to add few tablespoons of water in between cooking as the sugar becomes thick.
The cooking time would be increased to 10 minutes with this method.